Achieve Perfect Crust & Smoky Flavor: Your Comprehensive Smoked Tri Tip Guide
The siren song of a perfectly cooked roast, with its tender, smoky slices and magnificent crust, is hard to resist. While many cuts vie for attention, the smoked tri tip stands out as an often-overlooked gem, capable of transforming a simple meal into a show-stopping culinary event. Originating from the bottom sirloin, this triangular cut of beef is renowned for its rich, beefy flavor and surprising tenderness when treated with the respect it deserves – particularly through the low and slow magic of a smoker. Forget complex techniques; achieving an exceptional smoked tri tip is more about understanding a few fundamental principles that unlock its full potential.Mastering the Prep: From Roast to Rub for Optimal Smoked Tri Tip
Before your tri tip ever sees the smoke, careful preparation lays the groundwork for delicious results. This initial stage is crucial for ensuring even cooking, maximum flavor absorption, and that coveted tender texture.Selecting and Trimming Your Tri Tip Roast
Start with a quality tri-tip roast, ideally around 2-3 pounds, looking for one with a decent fat cap. While some fat adds moisture and flavor, excessive silver skin or hard fat should be removed. Silver skin is a tough membrane that won't render during cooking and can make the meat chewy. Using a sharp boning or fillet knife, gently slide it under the silver skin, angling slightly upwards, and carefully trim it away. For the fat cap, decide how much you want to keep; a thin layer (about 1/4 inch) can protect the meat and enhance flavor, while removing more will result in a leaner roast.
Crafting the Perfect Smoked Tri Tip Rub
The beauty of a tri tip lies in its inherent beefy flavor, meaning it doesn't need an overly complicated rub. A simple yet effective seasoning allows the meat's natural taste to shine through, complemented by the smoky notes.
- Olive Oil Base: A light coating of olive oil (or your preferred cooking oil) helps the seasonings adhere to the meat and contributes to a beautiful bark.
- Salt: Essential for seasoning and drawing out moisture from the surface to create that perfect crust. Regular table salt works, but many pitmasters prefer kosher salt for its larger crystals and even distribution. If using kosher, you might need slightly more by volume.
- Black Pepper: Freshly ground black pepper delivers a vibrant, pungent flavor that's superior to pre-ground varieties.
- Garlic Powder: A staple in beef rubs, garlic powder adds a foundational savory note without burning like fresh garlic can during long smokes.
For those who like to experiment, consider adding a touch of onion powder, paprika for color and mild sweetness, or even a pinch of brown sugar to aid in bark formation. Apply the rub generously, ensuring all surfaces of the tri tip are evenly coated. Don't be shy; the robust flavor of the beef can handle it.
Understanding the Grain Direction
Perhaps the most critical pre-cook step for tri tip, often overlooked, is noting the grain direction. Tri tip is unique because its muscle fibers run in two distinct directions, meeting at an approximate V-shape. Identifying these patterns *before* cooking is vital for proper slicing later. You might even consider making a small incision or drawing a mental map to guide your knife post-smoke. Slicing against the grain is paramount for tenderness, as it shortens the muscle fibers, making each bite incredibly palatable.
The Art of Smoke: Low & Slow Mastery for Tender Smoked Tri Tip
With your tri tip prepped and seasoned, it's time to introduce it to the magic of smoke. This is where the "low and slow" philosophy truly shines, transforming the lean cut into a juicy, tender masterpiece.Setting Up Your Smoker
Whether you're using a pellet smoker, offset smoker, or kettle grill setup for indirect heat, maintaining a consistent temperature is key. Aim for a smoking temperature between 225°F and 250°F (107°C - 121°C). Pellet smokers excel here, offering precise temperature control and a steady flow of smoke. To enhance moisture and promote a better smoke ring, consider placing a water pan in your smoker. The evaporating water creates a humid environment, which can also help keep the surface of the meat moist, allowing more smoke particles to adhere.
Wood Selection for Signature Flavor
The type of wood you choose dramatically impacts the final flavor profile of your smoked tri tip. While many options exist, some stand out as classic pairings for beef:
- Red Oak: A traditional choice for beef, offering a classic, robust smoky note that's incredibly complementary to tri tip's rich flavor.
- Hickory: Provides a strong, bacon-like smoky flavor. Use with caution, as too much can overpower.
- Cherry or Apple: These fruitwoods offer a milder, sweeter smoke that can add a beautiful color to the bark. They pair well if you prefer a less intense smoky flavor.
For premium results, use high-quality wood pellets or chunks that are free from additives.
Monitoring Internal Temperature for Perfect Doneness
The most important tool in your arsenal is a reliable meat thermometer. Since tri tip is a lean cut, it can quickly go from tender to dry if overcooked. Insert the probe into the thickest part of the roast, avoiding any large pockets of fat or bone. For a juicy, tender smoked tri tip with a beautiful pink edge-to-edge finish, aim for an internal temperature of around 125-130°F (52-54°C) before moving to the searing phase. This allows for carryover cooking and the final high-heat sear to bring it to your desired doneness, typically medium-rare to medium.
Achieving the Perfect Crust: The Reverse Sear Method
While low and slow smoking infuses deep flavor and tenderness, the final step for a truly exceptional smoked tri tip involves a high-heat sear to develop that coveted crust, or "bark." This is the reverse sear method, bringing together the best of both smoking and grilling.Once your tri tip reaches its target pre-sear internal temperature, remove it from the smoker. Now, it's time to crank up the heat.
- Grill or Cast Iron: You can transfer the tri tip to a preheated grill over direct high heat (500-600°F / 260-315°C) or use a scorching hot cast iron skillet.
- Searing Technique: Sear each side for 2-4 minutes, or until a dark, flavorful crust forms. Don't be afraid of a good char! For an extra layer of richness and an even better bark, consider butter basting during this stage. Add a pat of butter, fresh garlic, and herbs (like rosemary or thyme) to your skillet or grill pan, and spoon the melted butter over the roast as it sears.
Continue searing until the internal temperature reaches your preferred doneness:
- Rare: 125-130°F (52-54°C)
- Medium-Rare: 130-135°F (54-57°C) - Often considered ideal for tri tip.
- Medium: 135-140°F (57-60°C)
Remember that carryover cooking will cause the temperature to rise another 5-10 degrees after it's removed from the heat.
The Crucial Final Steps: Resting and Slicing for Ultimate Tenderness
You're almost there! These final two steps are non-negotiable for maximizing tenderness and juiciness.The Importance of Resting
Once your smoked tri tip reaches its final desired temperature, remove it from the heat and tent it loosely with foil. Let it rest for at least 10-15 minutes, or up to 20 minutes for a larger roast. This resting period allows the muscle fibers to relax and reabsorb the juices that have been pushed to the center during cooking. Skipping this step will result in juices running out onto your cutting board, leaving you with a drier piece of meat.
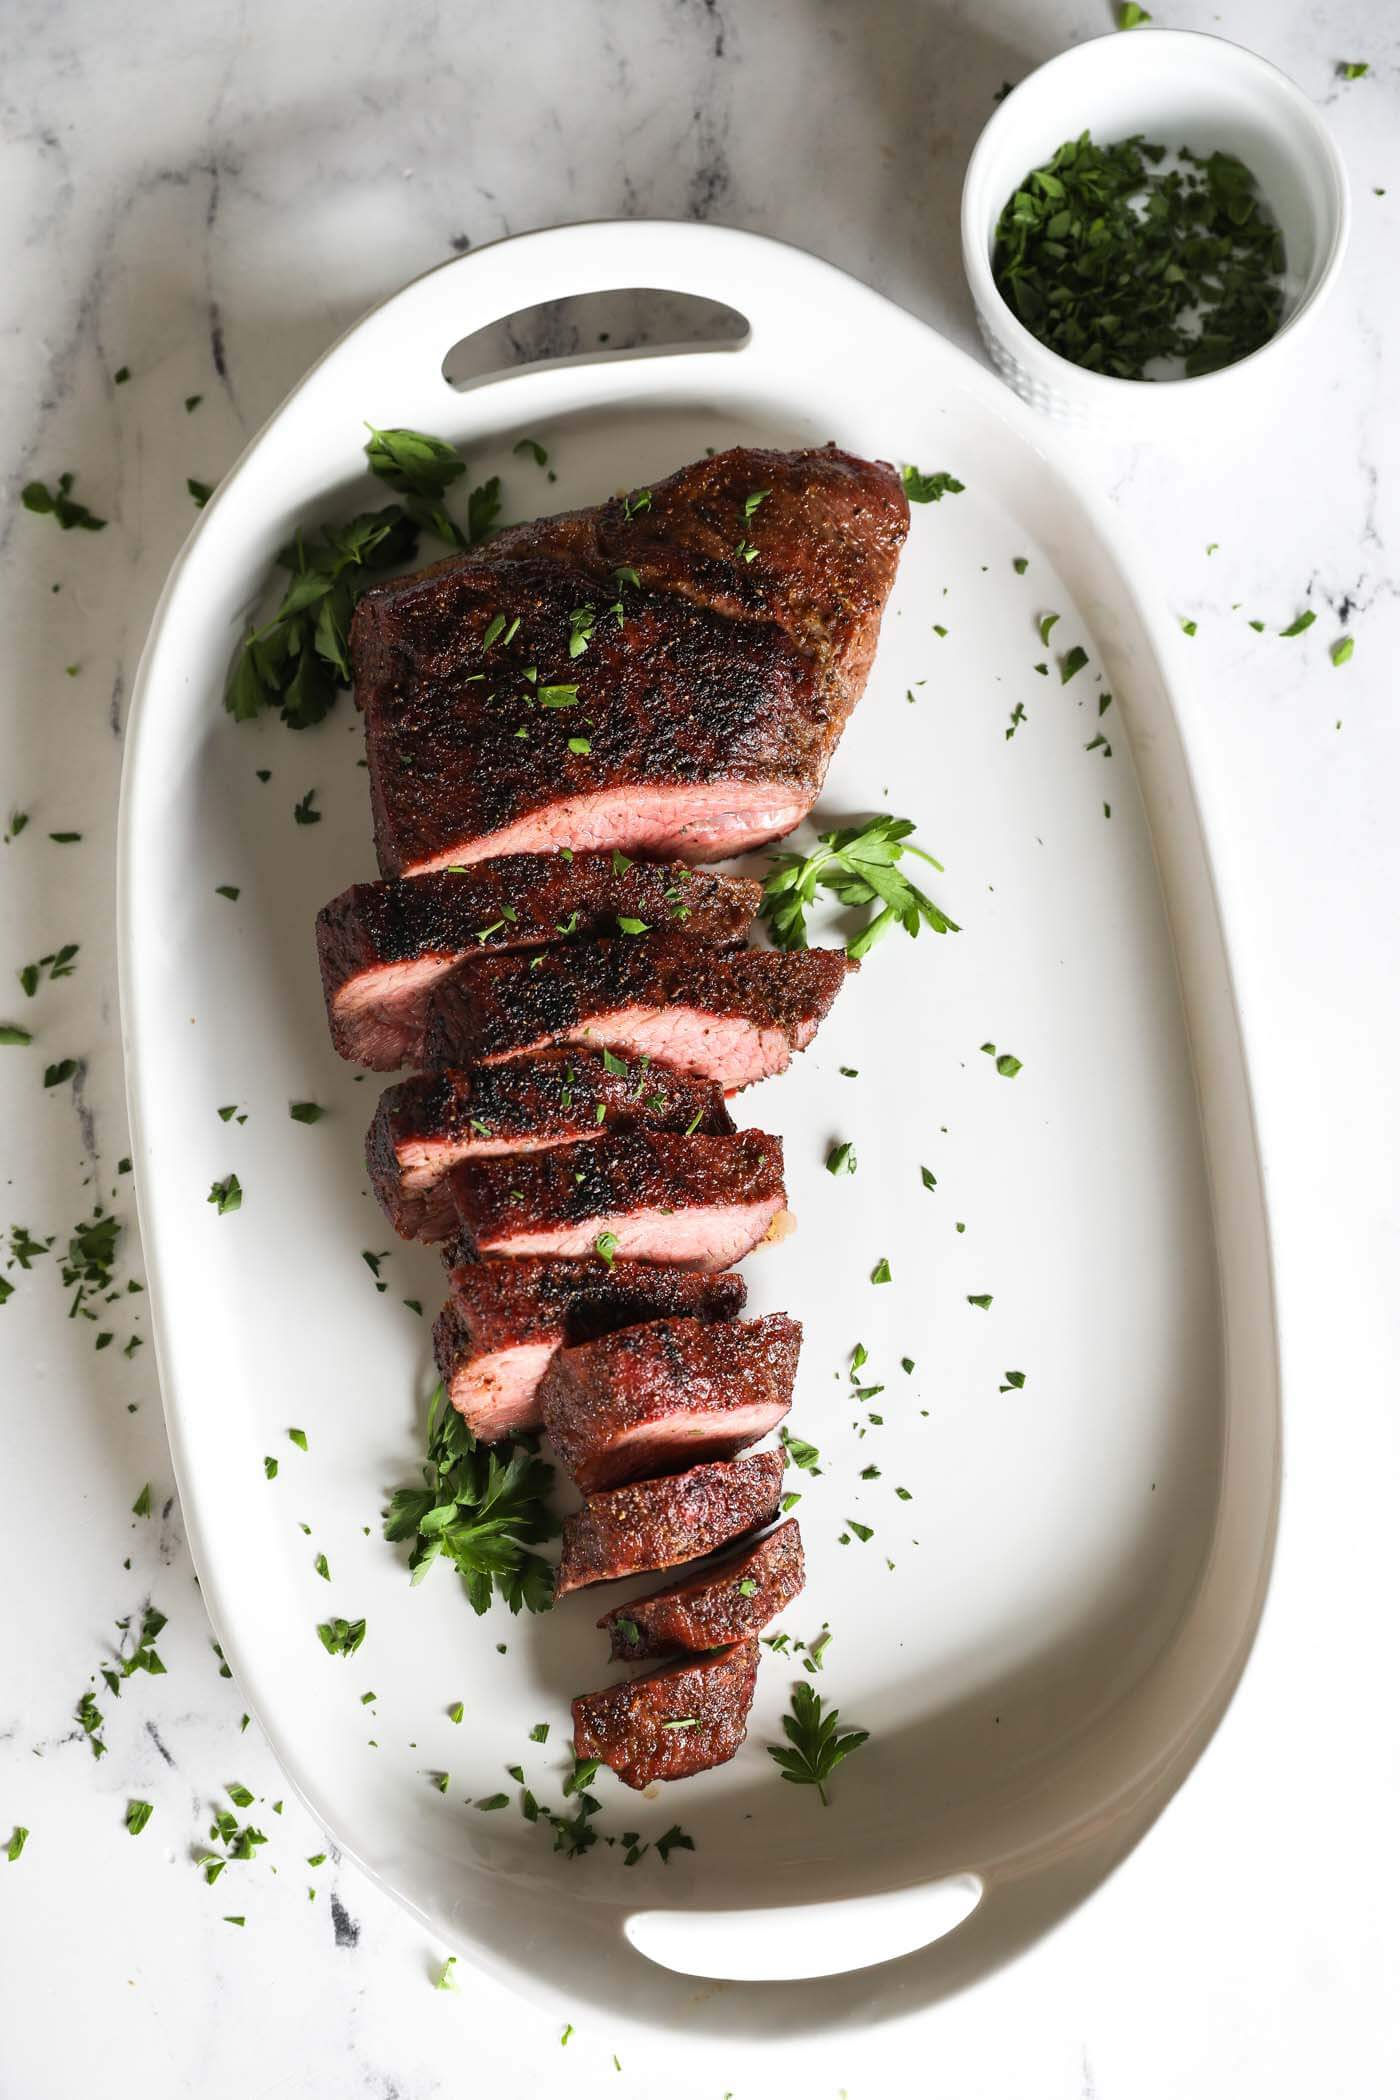
Slicing Against the Grain
As mentioned during prep, tri tip has two distinct grain directions. After resting, carefully observe your roast to identify these lines. Using a sharp carving knife, slice the tri tip against the grain into thin slices (about 1/4 inch thick). You'll typically need to cut the roast into two sections where the grains change direction, then slice each section individually. This technique ensures maximum tenderness in every bite.
